In the world of technology, the Raspberry Pi has emerged as a versatile and powerful tool for building Internet of Things (IoT) projects. With its ability to connect devices, automate processes, and enhance efficiency, Raspberry Pi is a favorite among hobbyists and professionals alike. However, setting up Raspberry Pi for remote IoT applications on a Mac can be challenging for beginners. This comprehensive guide will walk you through the process step by step, ensuring you have all the tools and knowledge you need.
Raspberry Pi remote IoT projects have gained immense popularity due to their flexibility and cost-effectiveness. Whether you're a developer working on a smart home project or an educator teaching IoT concepts, understanding how to set up Raspberry Pi for remote access on a Mac is essential. In this guide, we'll explore everything from downloading the necessary software to configuring your Raspberry Pi for seamless IoT integration.
By the end of this article, you'll have a clear understanding of Raspberry Pi remote IoT download for Mac and the tools required to make your projects a success. Whether you're looking to monitor your garden's moisture levels or automate your home's lighting system, this guide will help you achieve your goals with ease.
Read also:Diva Flawless Unveils New Sex Videos A Deep Dive
Table of Contents
- Introduction to Raspberry Pi Remote IoT
- Understanding Raspberry Pi Basics
- Tools Required for Remote IoT Setup
- Downloading Raspberry Pi Software for Mac
- Configuring Remote Access
- Connecting IoT Devices
- Troubleshooting Common Issues
- Ensuring Security in Remote IoT Projects
- Real-World Examples of Raspberry Pi IoT Projects
- Conclusion and Next Steps
Introduction to Raspberry Pi Remote IoT
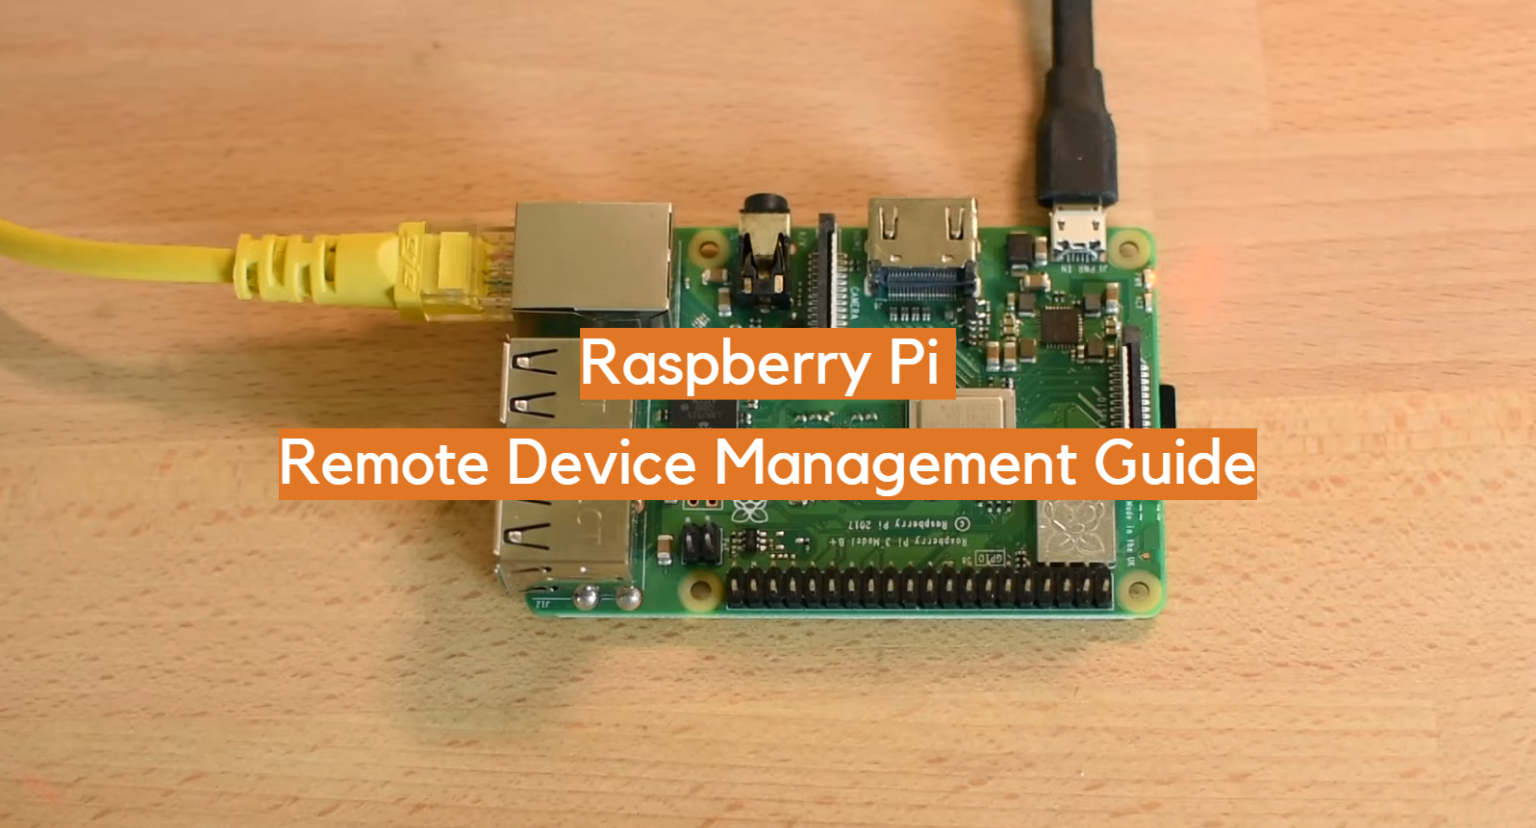
Raspberry Pi remote IoT projects have revolutionized the way we interact with technology. By combining the power of Raspberry Pi with the convenience of remote access, users can control and monitor IoT devices from anywhere in the world. This section will introduce you to the concept of remote IoT and its applications.
Remote IoT refers to the ability to manage and interact with Internet of Things devices without being physically present. Whether you're controlling a thermostat in your home or monitoring a weather station in a remote location, remote IoT enables you to achieve these tasks effortlessly. With Raspberry Pi, you can create robust and scalable IoT solutions that integrate seamlessly with your Mac.
Some of the benefits of using Raspberry Pi for remote IoT projects include:
- Cost-effectiveness
- Customizability
- Compatibility with various sensors and devices
- Strong community support
Understanding Raspberry Pi Basics
What is Raspberry Pi?
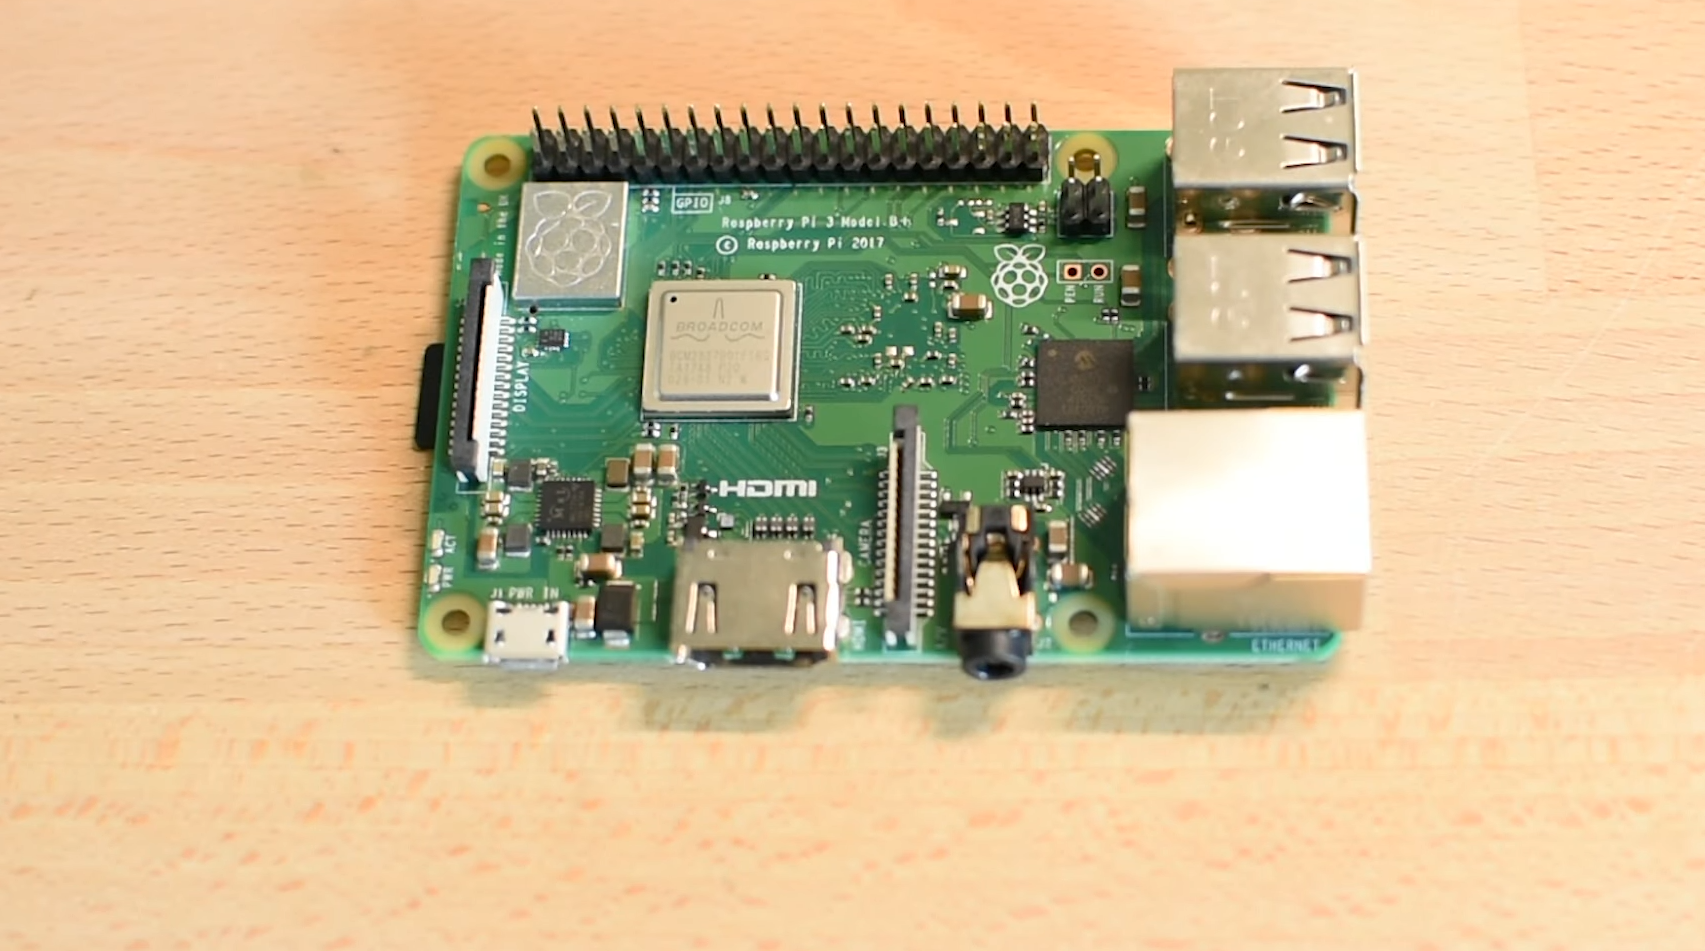
Raspberry Pi is a small, affordable computer designed for learning programming and building hardware projects. It comes in various models, each with different specifications, but all share the same core functionality. The Raspberry Pi Foundation developed this device to promote computer science education, but it has since become a favorite among hobbyists and professionals alike.
Why Use Raspberry Pi for IoT?
Raspberry Pi is ideal for IoT projects because of its:
- Low power consumption
- Wide range of GPIO pins for connecting sensors and actuators
- Support for multiple programming languages, including Python and C
- Compatibility with Linux-based operating systems
Tools Required for Remote IoT Setup
To set up Raspberry Pi for remote IoT on a Mac, you'll need the following tools:
Read also:Anne Hathaway Husband A Closer Look At Adam Shulman
- Raspberry Pi device (preferably Raspberry Pi 4 or later)
- MicroSD card with at least 16GB capacity
- Power adapter compatible with your Raspberry Pi model
- Ethernet cable or Wi-Fi access
- Mac computer with macOS installed
- Raspberry Pi Imager software
Additionally, you may need:
- A keyboard and mouse (optional)
- A monitor (optional)
- SSH client software (e.g., Terminal on Mac)
Downloading Raspberry Pi Software for Mac
Raspberry Pi Imager
The first step in setting up Raspberry Pi for remote IoT is downloading the Raspberry Pi Imager software. This tool allows you to install the Raspberry Pi OS onto your microSD card. Follow these steps:
- Visit the Raspberry Pi official website.
- Download the Raspberry Pi Imager software for Mac.
- Install the software on your Mac.
Raspberry Pi OS
Once you have the Raspberry Pi Imager installed, download the Raspberry Pi OS. The Raspberry Pi OS Lite version is recommended for IoT projects as it is lightweight and optimized for headless setups.
Configuring Remote Access
Enabling SSH
Secure Shell (SSH) is a protocol that allows you to remotely access your Raspberry Pi. To enable SSH:
- Insert the microSD card into your Mac.
- Create a new file named "ssh" (without any file extension) in the boot partition of the microSD card.
- Eject the microSD card and insert it into your Raspberry Pi.
Setting Up a Static IP Address
A static IP address ensures that your Raspberry Pi always has the same network address, making it easier to connect remotely. Follow these steps:
- Connect your Raspberry Pi to your network using an Ethernet cable or Wi-Fi.
- Log in to your router's admin panel.
- Assign a static IP address to your Raspberry Pi's MAC address.
Connecting IoT Devices
Once your Raspberry Pi is set up, you can connect various IoT devices. Popular devices include:
- Temperature and humidity sensors
- Light sensors
- Relay modules
- Cameras
Use GPIO pins to connect these devices to your Raspberry Pi. Refer to the device's documentation for wiring instructions.
Troubleshooting Common Issues
Here are some common issues you may encounter and their solutions:
- SSH not working: Ensure the "ssh" file is correctly placed in the boot partition.
- Network connectivity issues: Check your Ethernet or Wi-Fi connection.
- Device not detected: Verify the wiring and ensure the device is powered correctly.
Ensuring Security in Remote IoT Projects
Security is critical when working with remote IoT projects. Follow these best practices:
- Change the default password for your Raspberry Pi.
- Use a firewall to restrict unauthorized access.
- Keep your software and firmware up to date.
Real-World Examples of Raspberry Pi IoT Projects
Smart Home Automation
Use Raspberry Pi to control your home's lighting, temperature, and security systems remotely.
Weather Station
Set up a weather station using Raspberry Pi and sensors to monitor temperature, humidity, and wind speed.
Conclusion and Next Steps
Raspberry Pi remote IoT download for Mac opens up endless possibilities for innovation and creativity. By following this comprehensive guide, you now have the knowledge and tools to set up and manage your Raspberry Pi for remote IoT projects. Remember to prioritize security and continuously update your skills as technology evolves.
We encourage you to take action by:
- Leaving a comment with your project ideas
- Sharing this article with fellow enthusiasts
- Exploring other tutorials on our website
Happy tinkering and stay curious!